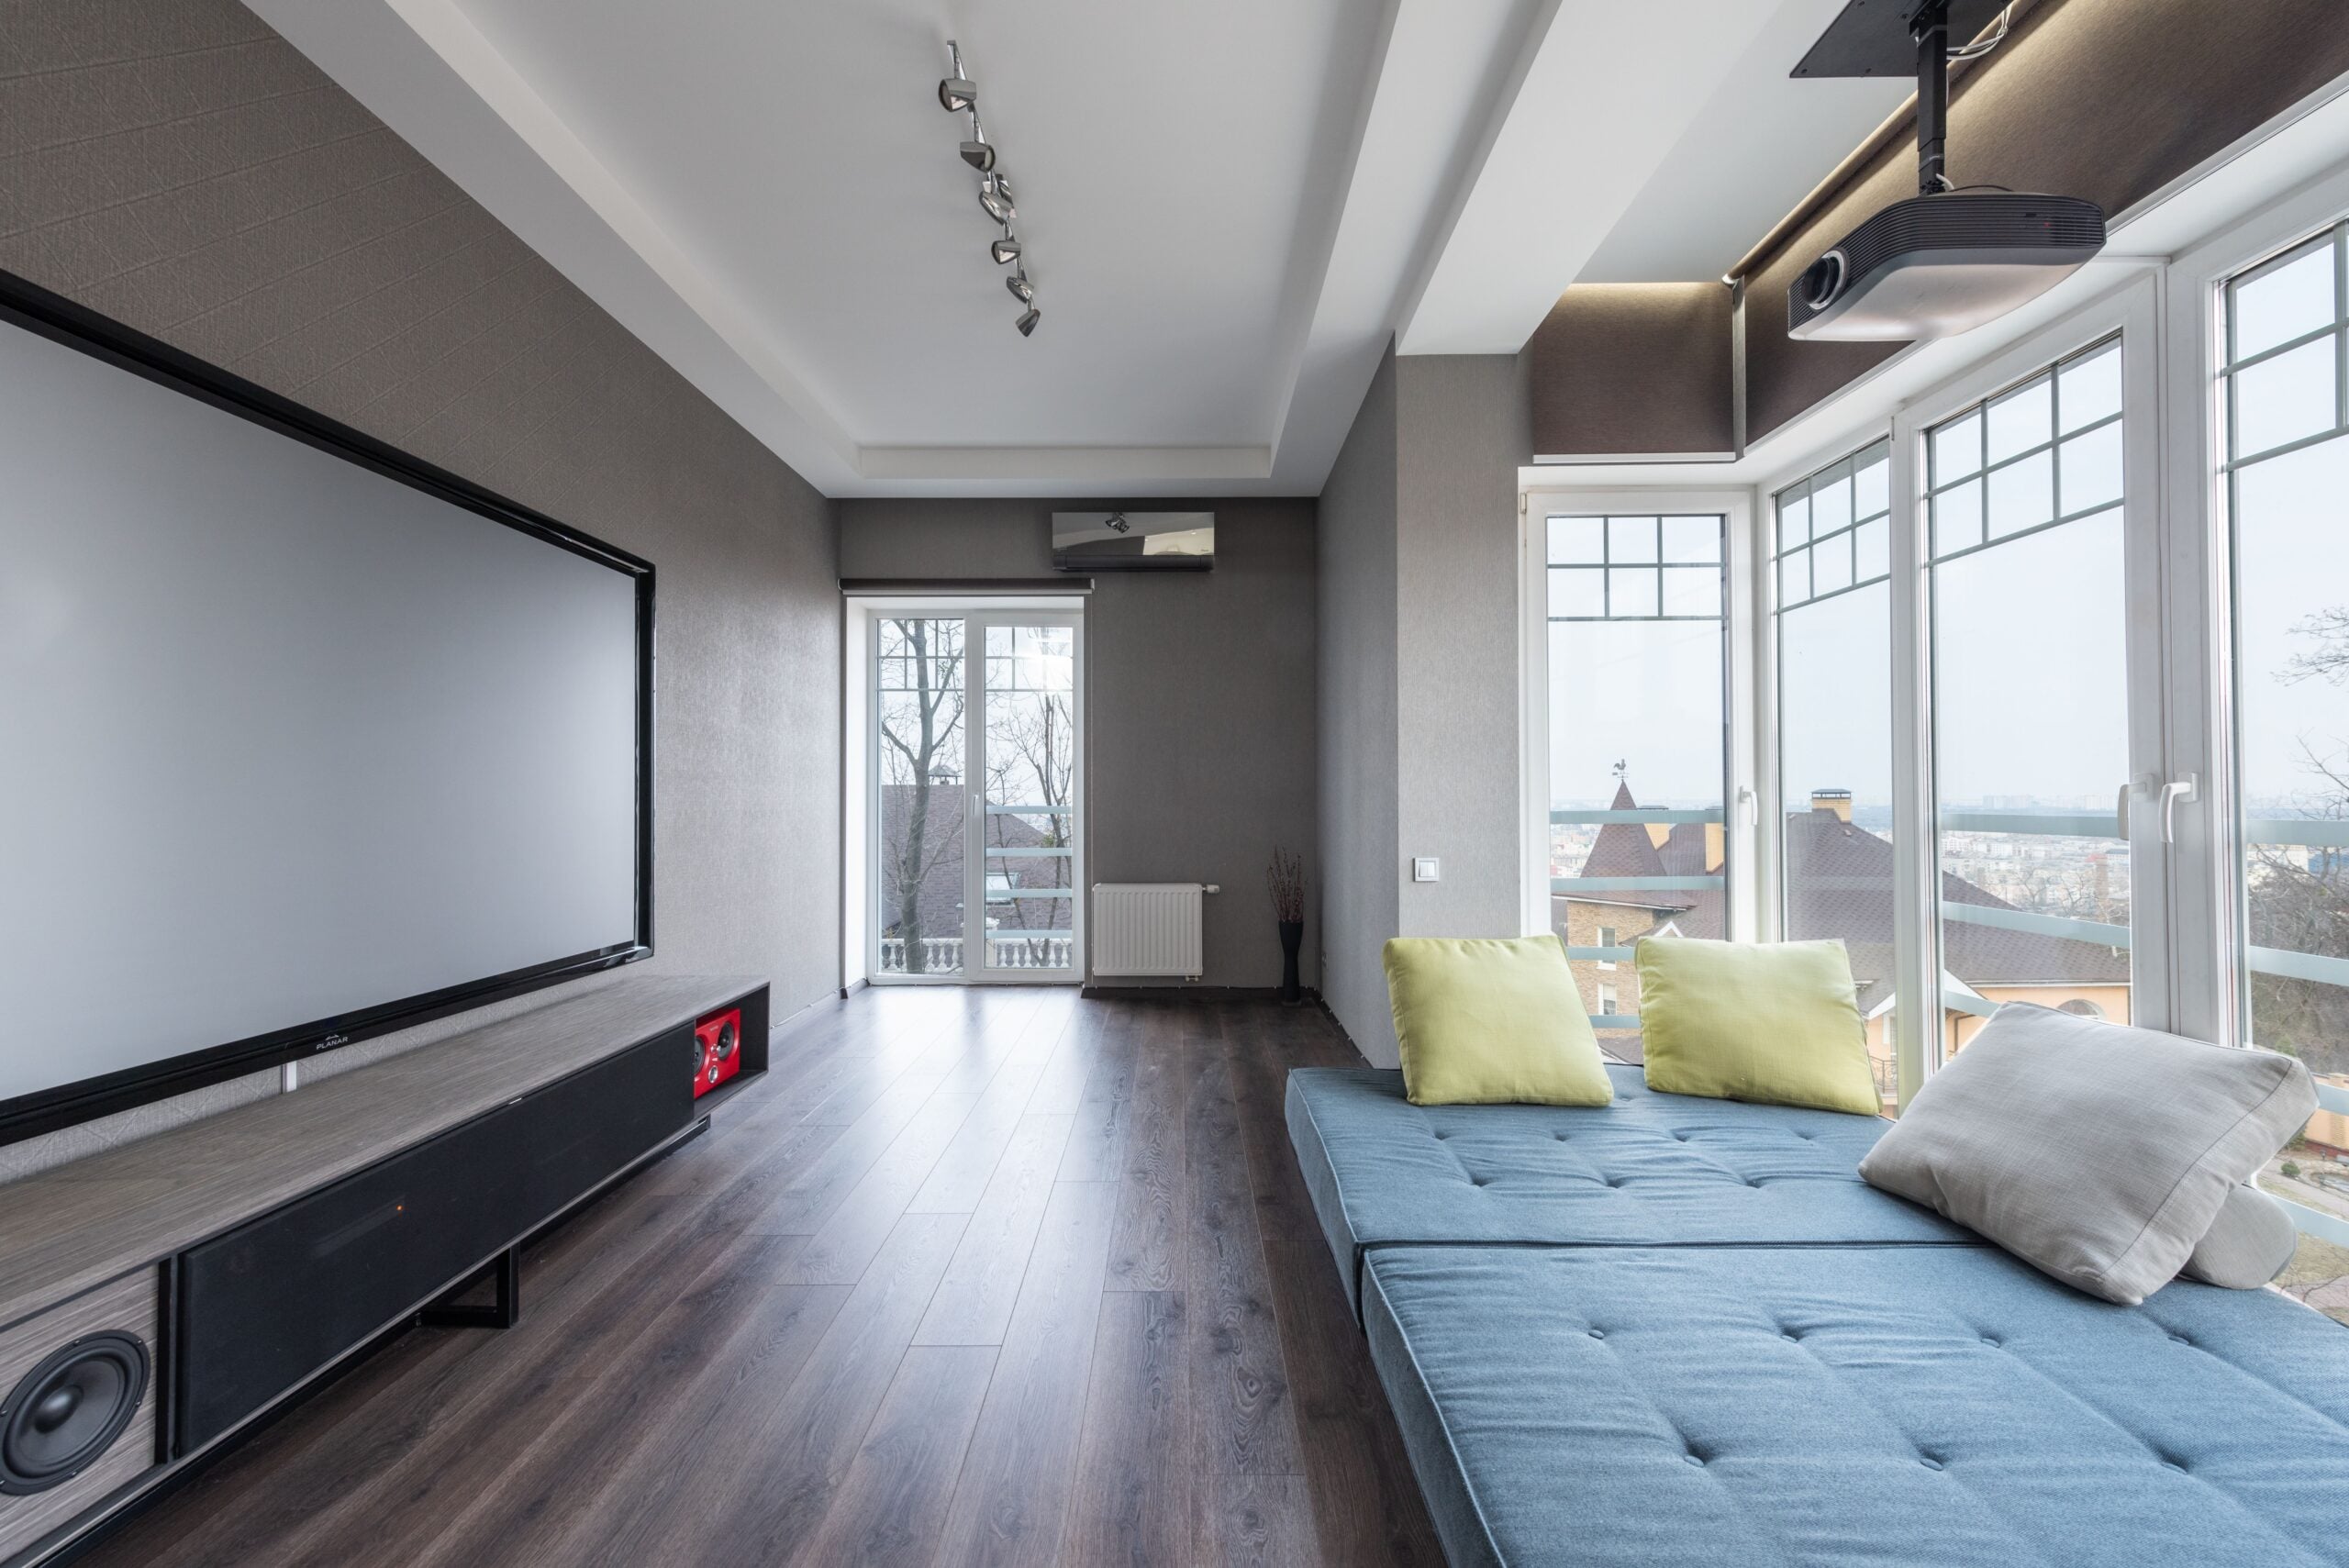
The best ways to make a home theatre are to choose a room you can darken and quieten, set the seating position before selecting a screen, and build audio around the room rather than around a speaker count. A dedicated cinema room can be excellent, but a spare bedroom or living room can also deliver a convincing result when the layout is deliberate.
Start with the elements that are expensive or disruptive to change later: room location, electrical access, cable routes, sound isolation and lighting. Then choose the display and audio system. This order prevents a common bad outcome, where a large television or projector is bought first and everything else has to compromise around it.
Dolby Atmos and Dolby Vision are useful targets when you want immersive sound and high-dynamic-range video, but neither logo replaces careful placement, sensible viewing distance or a room with controlled reflections. Dolby Vision support also needs to line up across the source device, HDMI chain and display, so confirm compatibility before paying extra for it.
Quick answer: what makes a home theatre work?
A good home theatre has four foundations: low and controllable light, intelligible dialogue, comfortable sightlines and simple operation. Spend more planning effort on those foundations than on cosmetic touches.
For a dedicated build, an isolated basement, rec room or spare room is often easier to manage than an open-plan space because outside noise and light are easier to control. A room around 20 feet long by 13 feet wide is a useful reference for a larger dedicated setup, while a spare bedroom of at least 12 by 12 feet can be converted. Treat those dimensions as planning examples, not minimum requirements. A smaller room can still work well with a TV and compact audio setup.
Choose the room before choosing the equipment
Pick the most enclosed practical space. Doors, nearby kitchens, hallways, large windows and shared walls all affect the experience. A room that is separated from the main activity of the house helps in two directions: your film is less likely to disturb other people, and their activity is less likely to intrude on quiet dialogue.
Room shape matters as much as floor area. A rectangular room usually gives you clearer options for placing a screen at one end and seating along the longer axis. Avoid committing to a layout where the main seat is pressed against the back wall, where sound can feel uneven and rear speakers have little space to work.
For a renovation, run power, network and speaker cables before drywall and finishes go in. Pre-wiring before adding extra sound barriers is practical because opening finished walls later is costly and disruptive. Mark the intended screen, receiver or soundbar location, subwoofer positions and any ceiling speaker locations before the cables are installed.
Control light before deciding between a projector and TV
Darkness is a picture-quality upgrade. Projectors benefit the most because stray light weakens contrast and makes blacks look gray, but even a bright flat-panel TV looks more cinematic when overhead lighting and window glare are controlled.
Use blackout window coverings where needed, place lighting on separate dimmable zones, and keep fixtures out of the direct path between the screen and viewers. Wall sconces and recessed ceiling lights are practical choices because they can light the room without aiming a bright source at the image. Give guests enough low-level light to move safely without washing out the screen.
TV versus projector
| Option | Best fit | Planning priority |
|---|---|---|
| Large TV | Living rooms, smaller rooms and spaces with some daytime use | Manage reflections from windows and lamps, then set seating around comfortable viewing distance. |
| Projector and screen | Dedicated rooms where lights can be kept low | Control light bleed first and plan projector location, power and cabling before final finishes. |
Do not choose a display size from showroom impact alone. Display size depends on viewing distance, room size and display type. Sit at the planned main viewing position, estimate where the screen will go, and make sure the whole image is comfortable to take in without constant head movement. A TV can be the more forgiving choice in a mixed-use room, while a projector earns its larger image only when the room can support it.
Make dialogue the priority in your audio plan
Big bass and overhead effects are memorable, but clear dialogue determines whether a system is enjoyable for everyday viewing. For a conventional surround system, the center speaker belongs directly above or below the screen. The left and right speakers should sit to the sides of the display at roughly ear height at the primary seat.
A full speaker system gives the greatest placement flexibility, while a soundbar is the most practical route for a living-room upgrade. Dolby Atmos can work with either a soundbar or a full surround system. The Sonos Arc is one recognized soundbar option for people who need a simpler installation, while a receiver-based setup is better suited to a dedicated room where you can place separate speakers correctly.
For a more ambitious concealed install, a 5.2.2 Dolby Atmos arrangement uses five main and surround channels, two subwoofers and two height channels, for nine speakers in total. That is not an automatic requirement. It is a layout worth considering only after the room can support sensible speaker positions and wiring.
- Soundbar setup: choose this when the room must stay visually simple and you cannot run speaker cable around the space.
- 5.1 or 7.1 surround: choose this when side and rear speaker locations are practical and you want a more enveloping film mix.
- Dolby Atmos: add height channels when the room and budget allow them, not before dialogue and surround placement are solved.
Run the automatic room calibration included with your receiver or soundbar if available, then listen to familiar dialogue-heavy scenes. Calibration is a starting point, not a substitute for moving a poorly placed speaker.
Reduce sound leakage and tame reflections
Soundproofing and acoustic treatment solve different problems. Soundproofing limits sound travelling into or out of the room. Acoustic treatment improves how the room sounds inside by reducing harsh reflections and excessive echo. You may need both, particularly in a dedicated cinema.
Insulation in interior walls can reduce sound transfer, but it will not make a room silent on its own. Construction details such as sealed gaps, solid doors and specialized sound-control drywall matter in a serious build. QuietRock is an example of specialty soundproof drywall used in renovation-focused home-theatre guidance. Confirm local building requirements and use qualified tradespeople for electrical work, structural changes and any wall or ceiling assembly.
Inside the room, soft furnishings help. Rugs, upholstered seating and curtains can reduce some reflected sound, while bare walls, glass and hard floors make a space livelier. Do not cover every surface indiscriminately. The goal is controlled sound, not a room that feels unnaturally dull.
Build the layout around a primary seat
Choose one main listening and viewing position, then design outward from it. Center the screen on that seat where possible. Keep the front speakers symmetrical, avoid placing the center speaker inside a closed cabinet, and ensure the display is not so high that viewers must tilt their heads upward.
Tiered seating can be useful in a purpose-built room because a raised rear row improves sightlines. It is not necessary in a compact room. Two well-positioned rows on a level floor are better than a riser that makes the rear seats too close to the ceiling or leaves inadequate walking space.
Keep control and connectivity boringly reliable
A home theatre should start a film without a sequence of remote-control troubleshooting. Put streaming devices, game consoles and disc players where their cables can be serviced. If Apple TV is central to the setup, keep a compatible spare handy or consider Apple TV remote replacements that suit the rest of your control setup. Use a wired network connection when it is feasible, especially for a fixed media setup, and leave access behind equipment for future replacement.
Plan for ventilation around receivers, consoles and other heat-producing electronics. Hide cables where possible, but do not bury equipment so completely that ports, controls and airflow become inaccessible. A clean installation is valuable only if it remains maintainable. For voice-controlled music playback, keep the network and account connections simple, since smart-speaker services can occasionally need troubleshooting, as seen with a Google Home and SiriusXM playback issue.
A sensible build order
- Choose the room and map the primary seat, screen wall and speaker positions.
- Address light control, electrical work, network access, cable routes and any sound-isolation construction.
- Install the display, then position the center, left and right channels around the main seat.
- Add surrounds, subwoofer placement and, if appropriate, Dolby Atmos height channels.
- Set up lighting zones, calibrate the audio and test films, games and dialogue-heavy television before finalizing furniture.
Common home theatre mistakes to avoid
Buying the largest screen that fits the wall is not the same as choosing the right screen for the seating distance. Mounting a TV too high, placing a center speaker in a cabinet, ignoring window light and leaving all equipment without ventilation are similarly expensive errors because they degrade daily use.
Another mistake is treating a high speaker count as the definition of quality. A correctly positioned soundbar can be more satisfying than a badly arranged surround setup. A carefully installed 5.1 system can also make more sense than forcing ceiling speakers into a room with unsuitable geometry. If gaming is part of the plan, choose the console or PC location early and consider alternatives to the Steam Machine that fit your display inputs, seating layout and ventilation requirements.