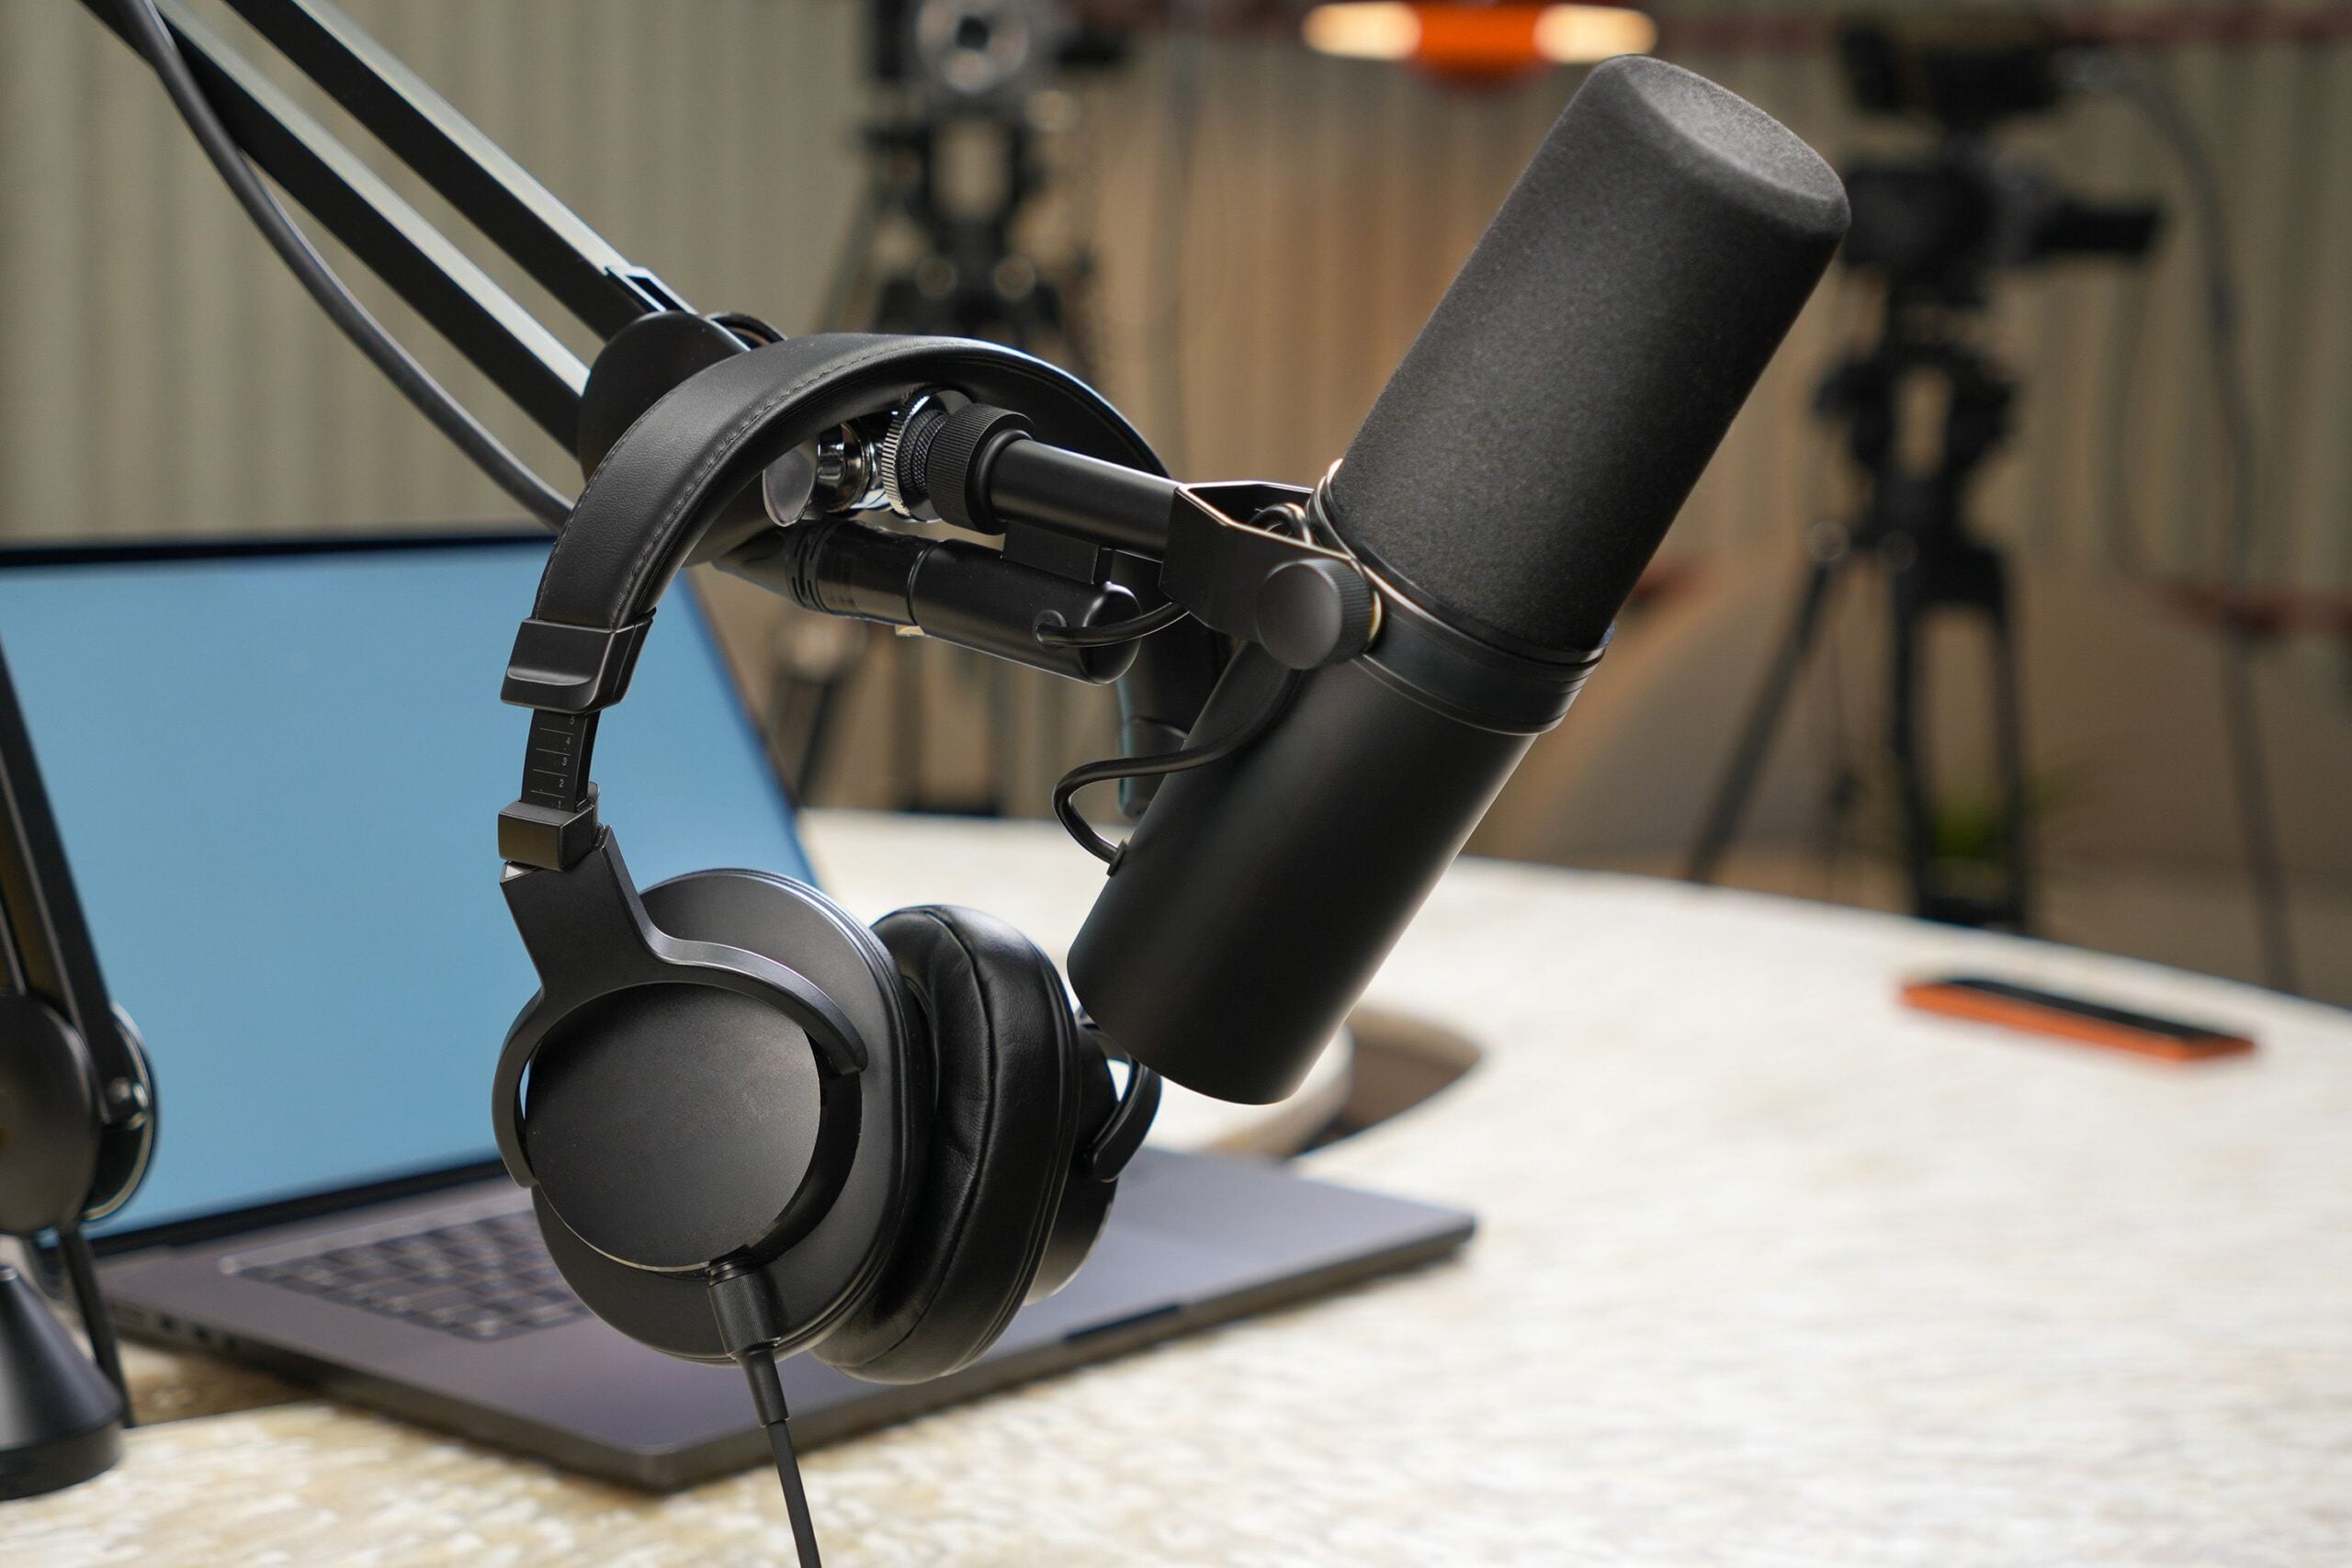
Podcast gear can get expensive fast, mostly because it is very easy to buy equipment that solves problems you do not have yet. A giant mixer, a studio microphone, three adapters, and a boom arm that could hold a small television will not rescue a noisy recording or an episode with no clear point.
The recommended equipment to start a podcast is refreshingly simple. Get a microphone that makes your voice clear, wear headphones so you can catch problems, record into a computer or phone, and publish a few episodes before building a miniature broadcast studio.
The short verdict: a Samson Q2U, wired headphones, and free editing software are enough for many first-time podcasters. Spend the rest of your effort on your room, microphone technique, and the actual show.
Start with the microphone, not the mixer
Your microphone has the biggest impact on how listeners perceive the show. A listener will forgive an episode recorded in a modest home office. They are less forgiving of harsh, distant, echoey speech that makes them work to understand every sentence.
For a first setup, the Samson Q2U is the easy recommendation. It is commonly available around $70 to $100 and supports both USB and XLR. USB means it can connect directly to a computer without extra hardware. XLR is the round, locking audio connection used by dedicated interfaces and mixers. That dual connection gives the Q2U a useful upgrade path without making a beginner buy more boxes on day one.
A USB microphone is the sensible choice for a solo host recording at a desk. Plug it in, select it in your recording app, put on headphones, and speak into the front of the mic from a consistent distance. That is a complete recording chain.
Want a USB alternative with onboard processing? The Shure MV6 is listed around $150 and includes built-in processing through Shure’s software. That can make it appealing for creators who want a more guided USB setup, but it is not a requirement for getting publishable audio.
| Product | Best fit | Connection | Approximate price |
|---|---|---|---|
| Samson Q2U | First-time solo podcasters who may upgrade later | USB and XLR | $70 to $100 |
| Shure MV6 | USB users who want built-in processing | USB | $150 |
| RØDE PodMic | Creators ready to use an interface | XLR | $100 |
| Shure MV7X | XLR users recording in less-than-perfect rooms | XLR | About $200 |
The RØDE PodMic is a strong value option at about $100, but it is an XLR microphone. Translation: it needs an audio interface or mixer before it can talk to your computer. Buy it because you need an XLR setup for multiple speakers or future expansion, not because XLR automatically makes a podcast sound better.
The Shure MV7X is another XLR-only model with a dynamic cardioid capsule, designed to keep attention on the voice when the room is not ideal. It makes sense for a creator who already owns an interface and needs help focusing on speech in an imperfect room. It does not make the interface requirement disappear.
Wired headphones catch problems before publishing
Headphones are not there to make you look like a radio host. They are quality control. During recording, they can reveal a laptop fan, a cable crackle, a guest sitting too far from the mic, or a microphone level that is clipping.
The Audio-Technica ATH-M20x is a budget-focused option listed around $60. A wired pair is especially useful because it provides real-time monitoring without the delay that can make Bluetooth headphones distracting while you speak.
You do not need to chase a premium headphone upgrade before recording your first episodes. Listen for practical issues: can you hear each person clearly, is one voice much louder than another, and is there an obvious buzz? Fixing those basics matters far more than judging every tiny detail of the sound.
Know when an interface or mixer is actually necessary
An audio interface converts an XLR microphone signal into something your computer can record. A mixer can add more hands-on control, often with multiple inputs. Both are useful tools. Neither belongs automatically in every starter cart.
For a solo USB-mic show, skip them. Adding an interface to a USB microphone setup is like installing extra plumbing on a bottle of water. More parts, no benefit.
Buy an interface when you move to XLR microphones or need separate microphone inputs for people recording in the same room. The Focusrite Vocaster Two, listed around $250, is a podcast-oriented interface for a setup that needs two inputs.
A mixer becomes attractive when the show has more moving pieces, such as several in-person speakers, music sources, sound pads, or a creator who wants physical controls during recording. The RØDECaster Duo, listed around $499, is a serious podcast mixer option, but it is firmly an upgrade purchase. It is not beginner gear in the budget sense.
Your room matters more than another accessory
Here is the unglamorous part. Expensive microphones still hear hard walls, empty rooms, fans, traffic, and people talking across the room. The recording environment can make a basic setup sound much better or make a premium setup frustrating.
Choose the quietest practical room, close windows if outside noise is an issue, and record close enough to the microphone that you do not need to turn the gain way up. Avoid a large empty room if a smaller, furnished space is available. Soft furnishings help reduce the obvious slap-back echo that makes speech sound like it was recorded in a bathroom.
Keep the microphone at a consistent distance and speak slightly across it rather than firing every breath directly into it. That small placement change can reduce popping sounds on words beginning with P and B.
Software can be free at the beginning
You need a place to record and edit, but you do not need to pay for a complicated production suite before you know your workflow. Audacity, GarageBand, and DaVinci Resolve are widely used free options for recording or editing, depending on your device and whether you are also creating video.
Keep the first edit simple. Remove obvious mistakes, long pauses, accidental coughs, and the section where someone asks, “Are we recording?” Then listen through once on headphones before publishing. A clean, consistent episode beats an over-processed one with every knob turned for the sake of it. Listening to a few tech podcasts worth following can also help calibrate the pacing and level of polish you actually enjoy.
Three practical starter setups
1. The solo audio starter setup
- Samson Q2U microphone, about $70 to $100
- Audio-Technica ATH-M20x wired headphones, about $60
- A computer with Audacity, GarageBand, or DaVinci Resolve
This is the setup to choose if you are recording one voice at a desk. It keeps the technical side low-stress and leaves room to learn good mic technique.
2. The two-person XLR setup
- Two RØDE PodMic microphones, about $100 each
- Focusrite Vocaster Two interface, about $250
- One wired headphone pair for each person
This is for two hosts sitting in the same room who need individual microphones. Give each speaker their own mic. Sharing one microphone tends to create uneven volume and makes editing more annoying than it needs to be.
3. The video podcast starter setup
- Samson Q2U microphone
- Wired headphones
- A smartphone used as the camera
- DaVinci Resolve for video editing
For video, clear sound still comes first. A smartphone camera is enough to begin, while bad audio can make even a sharply lit 4K image hard to watch. If your format is gadget chat or commentary, study how your favorite tech news and AI podcasts balance conversation with clear structure.
The bottom line
Buy the Samson Q2U, a wired headphone pair such as the Audio-Technica ATH-M20x, and use free software for your first recordings. That is the recommended equipment to start a podcast for most solo creators, and it avoids spending hundreds on complexity before you have a format worth repeating.
Move to the RØDE PodMic and Focusrite Vocaster Two only when you truly need XLR microphones or multiple in-person voices. Save the RØDECaster Duo for a show that has outgrown a simple workflow. Record a test episode first, listen closely, make one improvement, and hit publish.