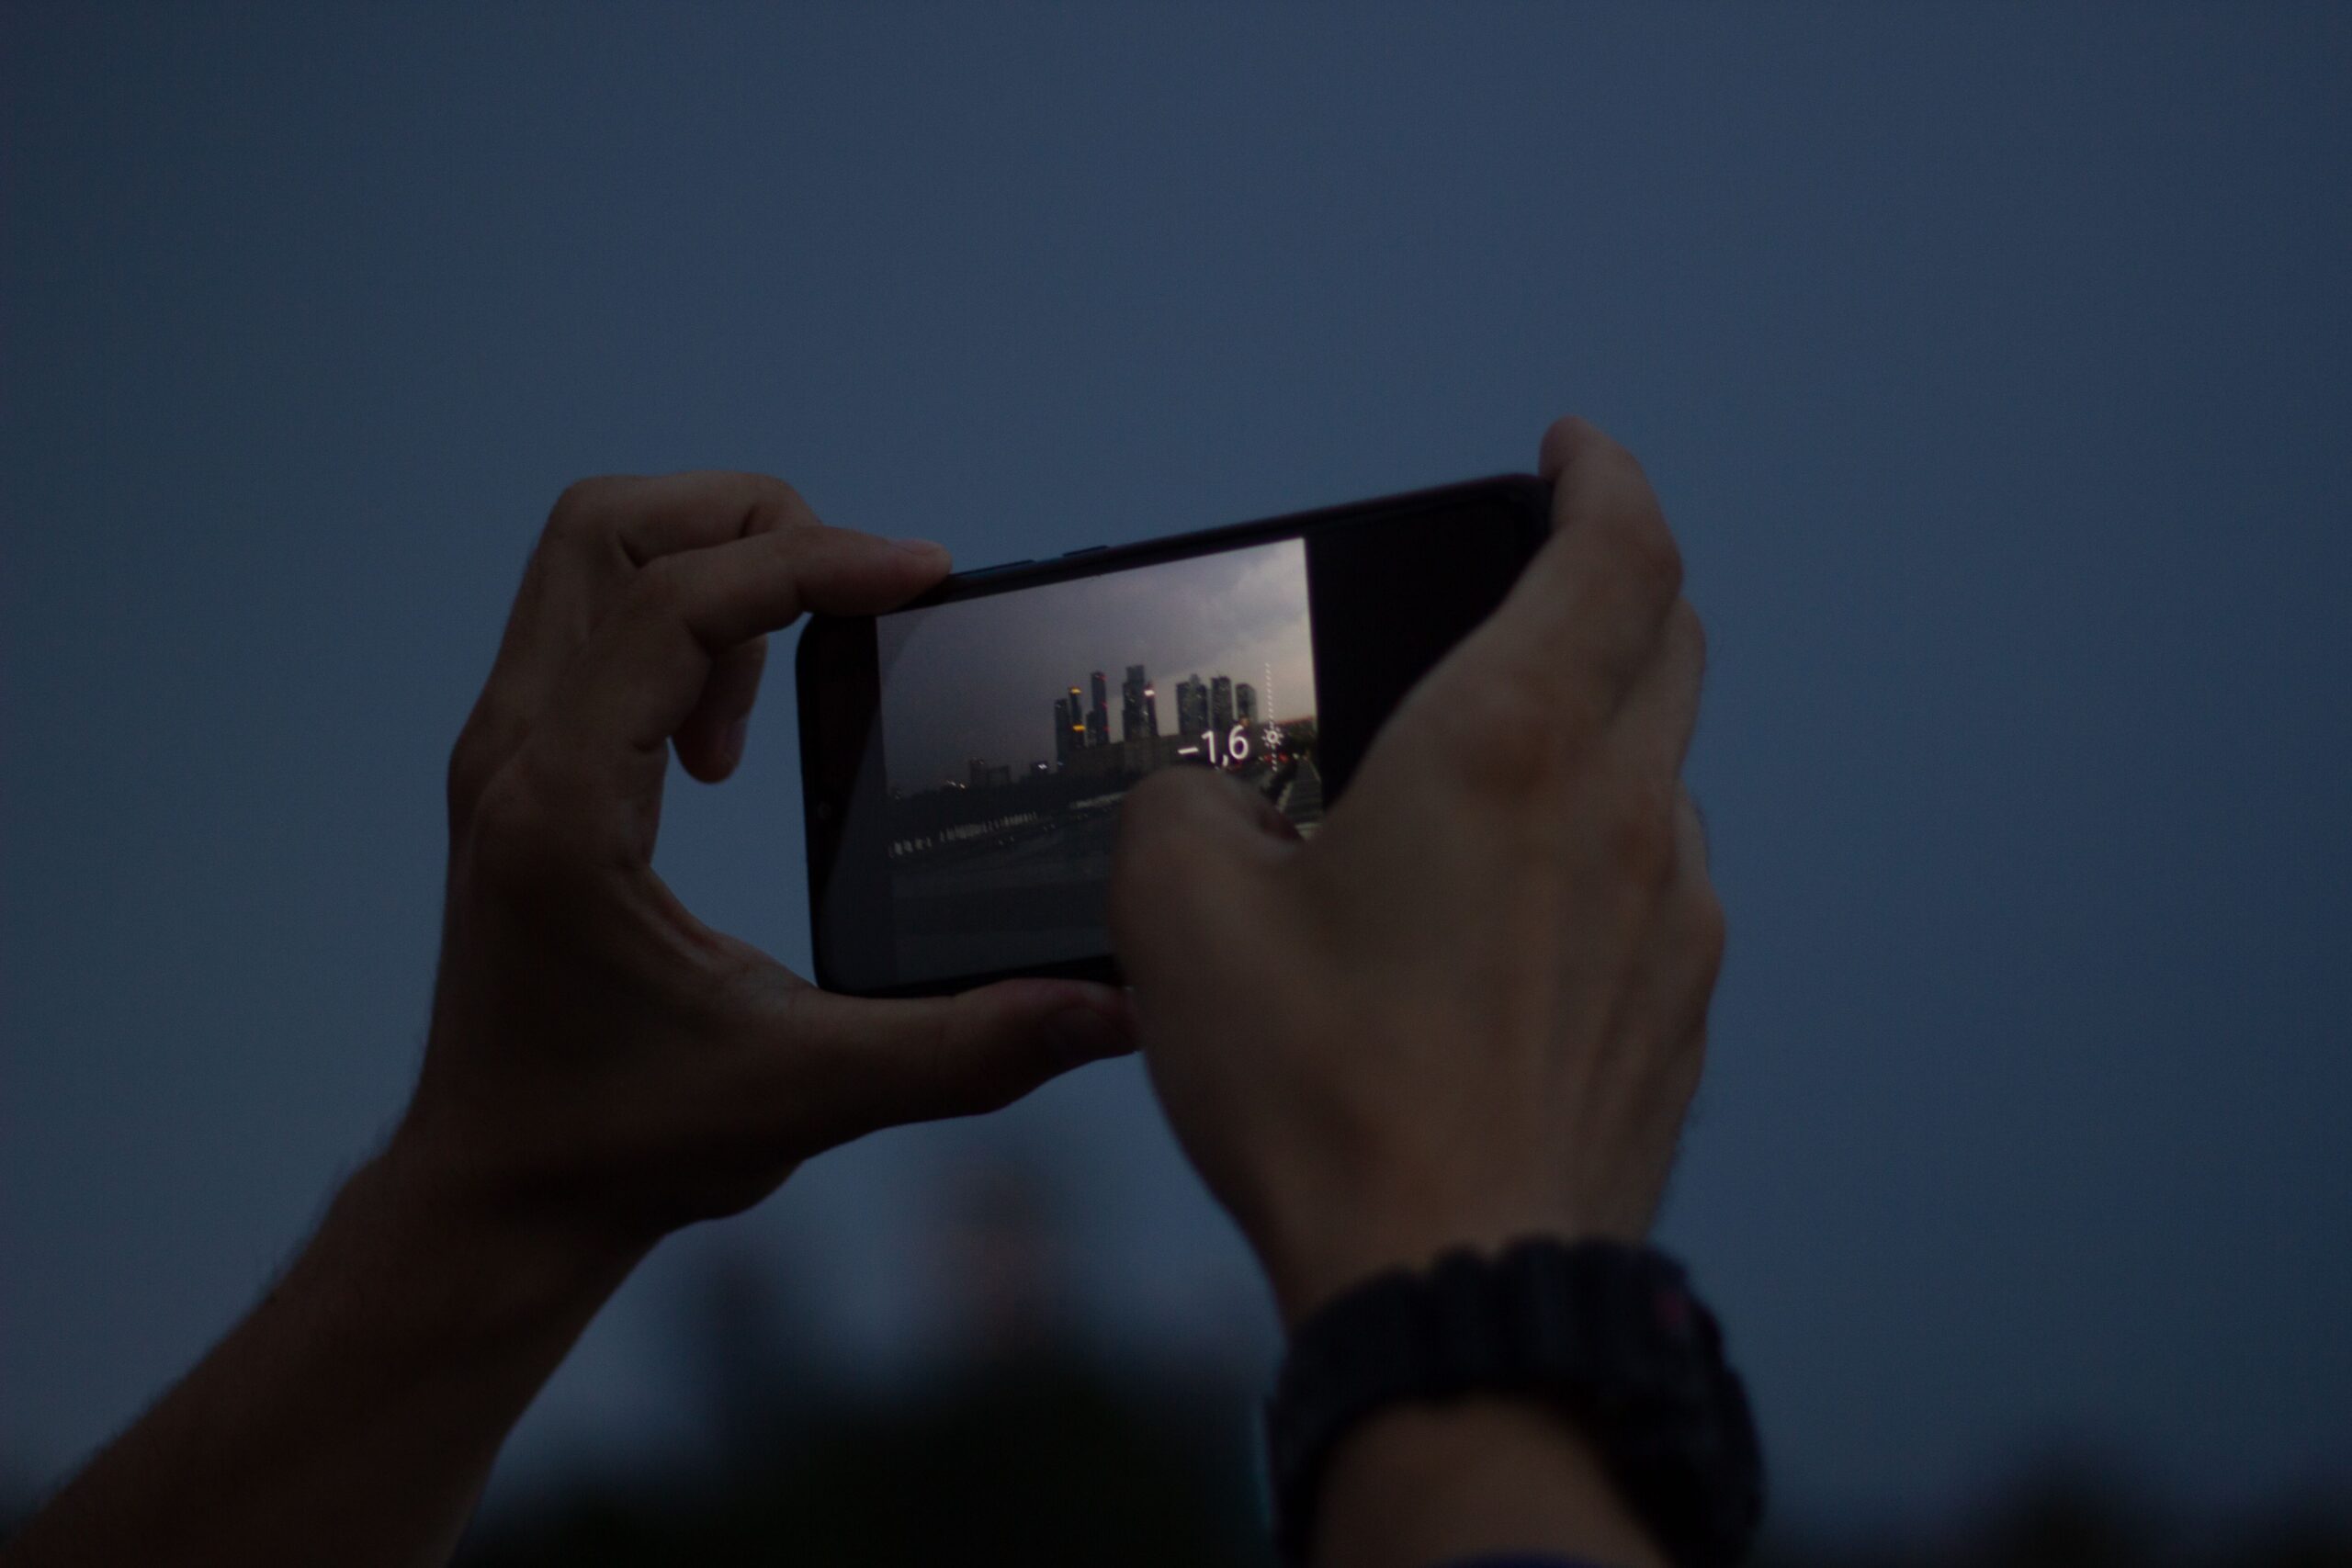
Okay, so your phone photo looked fine on the screen, then you opened it later and found a blurry mess. Night photography does that alot, even with newer phones that take excellent pictures in daylight. Phone cameras have gotten seriously good lately too, with newer sensors and image processing doing a bunch of the heavy lifting, but low light still exposes every little wobble.
The good news is that your camera probably isn’t broken. Low light makes the phone work harder, and a few small changes can make a big difference. Honestly, it helps to think of it like trying to read in a dim room, you slow down and squint a bit, and your phone kinda does the same thing.
1. You moved the phone while taking the picture
This is the big one. In bright daylight, your phone can use a fast shutter speed, which means it captures the image quickly. Tiny hand movements barely show up.
At night, the camera needs more light. It often keeps the shutter open longer to brighten the picture. If your hand shifts during that moment, the movement gets recorded as blur.
Pressing the on-screen shutter button can make this worse because your finger may tilt the whole phone. Try one of these fixes:
- Hold the phone with both hands and keep your elbows close to your body.
- Use the volume button to take the photo if your phone supports it.
- Turn on the camera’s self-timer, including the short two-second option when available.
- Rest your arms or the phone against a solid surface.
A tripod is the most stable option, though carrying one around isn’t always convenient. Still, if you’re planning to shoot night scenes, city lights, or anything that won’t wait around for you, it can help a ton. Even a tiny travel tripod is enough for a phone, kinda like how a little kickstand can save a whole bike.

EUCOS 62" Phone Tripod, Tripod for iPhone & Selfie Stick with Remote
2. The camera is trying to make the scene too bright
Your phone usually assumes you want a well-lit image. That makes sense for a normal snapshot, but it can ruin a dark scene. The camera may slow the shutter down so it can pull in more light, and that gives hand shake more time to show up.
If the scene is supposed to look dark, lower the exposure instead of letting the phone brighten everything. Tap and hold your subject on the screen until the exposure controls appear. Look for the slider with the sun icon.
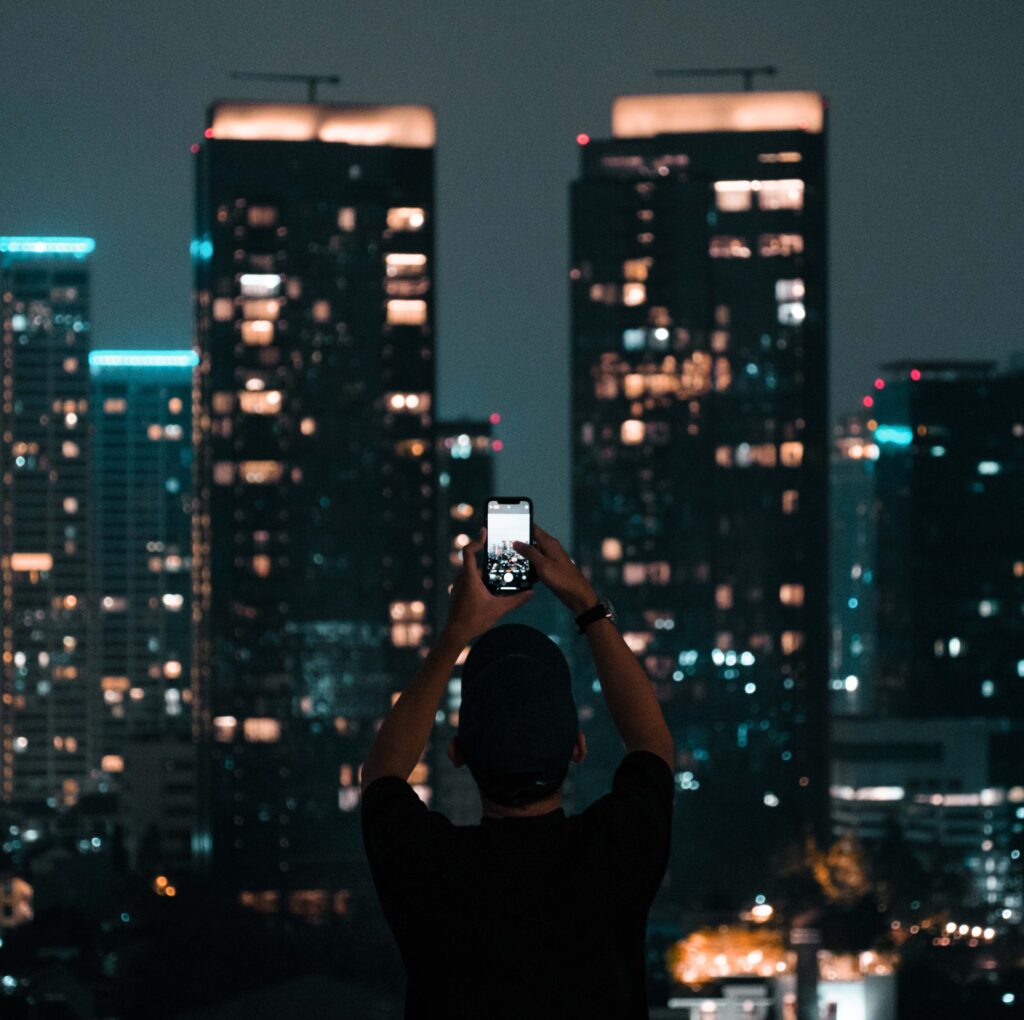
On Samsung phones, drag the control to the left. On iPhones, drag it downward. The image will get darker, but the phone can use a faster shutter speed. That usually means a sharper photo and a more natural nighttime mood.
It feels a little backwards at first. You are making the photo darker to make it look better, basically. But night photos don’t always need to look like they were taken at noon. A lot of phones now push brightness pretty aggressively because people tend to like punchy previews, but teh cleaner shot is often the one that keeps the shadows looking like actual shadows.
3. Night Mode needs the phone to stay still
Night Mode is useful when the scene is extremely dark. Many iPhones and Samsung phones can turn it on automatically, and the camera will usually tell you to hold still while it captures the image.
That warning matters. Night Mode may combine several exposures, or keep the camera working for longer, to brighten the final picture. If you’re walking, holding the phone loosely, or shooting from an unstable position, the result can still be blurry.
Try turning Night Mode off when you need a sharper, darker image or when you can’t keep the phone steady. You will lose some brightness, but the phone should use a faster shutter speed.
When you do need Night Mode, prop the phone on a firm surface, use a tripod, or set the timer before the shot. The timer keeps your finger from bumping the phone right as the picture is captured. Stuff like better on-device processing has made this way faster than it used to be, kind of like how AI is speeding up other complex camera and chip work, but the basic rule hasn’t changed, the phone still needs you to stay still.
4. The built-in flash may not reach your subject
Phone flash seems like the obvious answer to a dark scene, but it has limits. The light is close to the camera, and most phone flashes reach less than 10 feet. Anything farther away may still be dark enough to blur.
Flash can also work with a relatively slow shutter speed, commonly around 1/25 to 1/40 of a second. That is the camera’s flash sync speed, meaning the fastest shutter speed it can use while keeping the flash and shutter properly timed.
If your subject is close, the burst of light may freeze it. If the subject is outside the flash’s useful range, though, movement can remain blurry. This is why ambient light, such as a nearby lamp or street lighting, can sometimes produce a more natural and sharper image.
For a group photo in very dark conditions, another phone can serve as a small light source. Have someone point its screen or light toward the group, then take the picture with your own phone. It isn’t fancy, but hey, it works better than asking the built-in flash to light up the entire parking lot.
Some Vivo phones can use the flash like a video light, letting you see how the light falls before taking the picture. That feature is not available on Samsung and iPhone models, so the exact options depend on your phone. Wearables and tiny gadgets are getting better at this sort of compact hardware trick too, kind of like the mini-sensor focus in the Oura Ring 4 Ceramic Midnight deal post, just in a very different lane.
5. Automatic mode is choosing settings that don’t fit the shot
Automatic mode is fine for most daytime photos. At night, it may choose a slow shutter speed because it is prioritizing brightness over stability.
Many Android phones offer a Pro mode that lets you set the shutter speed yourself. A simple starting point is to use a shutter speed close to the reciprocal of the lens’s focal length. That sounds more complicated than it is.
For example, the Samsung S24 Ultra’s main camera uses a 24mm-equivalent lens. A shutter speed near 1/24 of a second would fit that guideline, but because 1/24 may not be available, 1/30 is the slightly faster choice.
If you zoom in, adjust the shutter speed too. Zooming changes the effective focal length, and the same setting may no longer be fast enough to prevent blur.
You can leave other controls on automatic while you test this. Later, you can experiment with ISO, which controls the camera’s sensitivity to light, and white balance, which changes the color cast. No need to turn into a camera nerd overnight, just change one thing at a time.
iPhones don’t include these same manual controls in the standard camera app. Anyone who wants this level of control on an iPhone will need a third-party camera app. And yeah, thats a little annoying if you just want the default app to do the obvious thing.
The quick fix checklist
When a nighttime photo comes out blurry, run through this list before taking ten more nearly identical shots:
- Hold the phone with both hands or rest it on something solid.
- Use the self-timer so pressing the shutter doesn’t shake the phone.
- Lower the exposure if the camera is making the scene brighter than it really is.
- Turn Night Mode off if you can’t keep the phone still.
- Move closer to the light or use another phone to illuminate nearby subjects.
- Try a faster shutter speed in Pro mode on supported Android phones.